
Along with my trusty flipped bun, the seashell bun is one of my favourite routine updos. Once you get the hang of it, it's easier than it looks and it looks very nice, in my opinion. This bun ressembles a spiral seashell (hence the name) and it was invented by Long Hair Community forums member LoversLullaby. It's also called the 'inward spiral bun' and 'reverse cinnamon':
 |
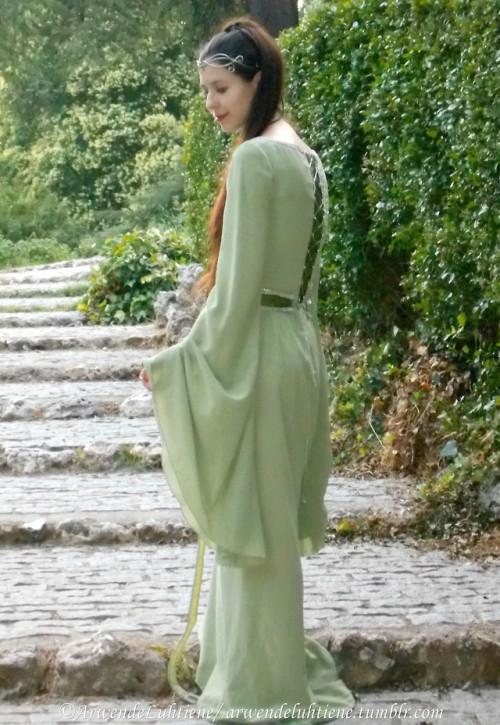
Seashell bun from the back and front, held by a large ficcaré-style pin and a couple of small claw clips for additional support (those don't look that good, but my slippery hair needs the support, especially if I want the bun to last for the whole day).
|
- Steps (for very long hair):
-My video tutorial:
Here is my personal version of the steps, originally based on LoversLullaby's original instructions (found here). I had to modify those steps a bit because my hair is longer than LoversLullaby's, so the number of times I coil the twisted hair and the number of fingers I use in each step to make the seashell shape are different (she mentions the alternative way for longer hair at the end, too, but I thought I would elaborate). During the years, I have also found the best way that works for my hair regarding height and placement, spiral rotation, and hairtoys to ensure that the style stays secure all day. The way that I do this style can of course be modified in all these ways depending on personal preferences and hairtype. This tutorial aims to serve as a guide, as usual ^^

1. Put your hair in a high ponytail. The higher the ponytail, the higher the seashell bun will turn out to be on your head - I prefer to wear the seashell higher on my head, both because I think it looks nice and sleek, and also because it holds for longer with that placement. No elastic needed (although I've experimented with making a seashell bun out of a secured ponytail and it doesn't look that bad, even if the elastic shows (definitely more secure that way xD).
2. Twist and coil the hair up. To achieve the spiral seashell form, you are going to wrap it around your hand repeteadly, in this way:
3. First, wrap the twisted hair around your whole hand, thumb included. This makes the bigger part of the spiral. Keep twisting the hair. I twist clockwise because that's the best way for left-handed me. You can also do this by twisting counter-clockwise, what works better for you!
4. Next, wrap it around your four fingers, leaving the thumb out. Keep twisting.
5. Then around three fingers, leaving the index and thumb out. Then around two (If your hair is shorter, just stop when your hair starts running out). When you reach the ends of your hair, continue wrapping it around the two fingers until you run out of hair.
6. Here comes the tricky part. You have to let all your fingers slide out of the hair more or less at once as you flip the bun to the left (or right, depending on the direction in which you twisted at first. Like I said, I'm left-handed, and twist clockwise generally).

7. Hold the bun in place while you secure it. If your ends stick out, just tuck them inside the bun. As for hairtoys, I generally use a large alligator clip (as seen above), with the additional security of a couple small claw clips around the spiral because my hair is very slippery, and that's the optimum way for me to wear a seashell bun all day long. The choice of hairtoys for this style will of course depend on hairtype, aesthetic preferences and so on.
For a more polished look, I also use some hair-friendly black bobby
pins to smooth the hair at the nape (French twist style, in a way). The
weight of the seashell usually makes the twisted hair at the nape begin
to fall and stick out , which I don't like very much. So I use the bobby
pins to fix that hair in place.
Other ways of securing the seashell bun that I've tried include just claw clips and some bobby pins to smooth the nape area, like in here:

Or just pins (spin pins or normal). This below was my first go at the seashell bun, and I was already wearing a ribbon in an accent braid, so it looks a bit weird xD (also, the pins show way too much). But it's another valid alternative, if your style keeps secure like this! Finally, a hair stick or fork (two sticks instead of one for a safer hold) also
works to secure this bun. Be sure to weave the stick or fork through
hair from the top, middle, and bottom to avoid the seashell shape from
falling or sticking out.

This pic shows also an alternate way to the one that I currently favour,
a seashell bun that's a bit lower on the head, and with the spiral
shape showing a little bit more without the alligator clip. Like I said,
there are a lot of ways to achieve the same style, depending on
personal taste and hairtype, so wearing the seashell lower on the head,
using different hairtoys and deciding on the direction you want to
rotate the spiral depending on whether you're a leftie (like me) or
right-handed, all o f them are perfectly good options!
This bun also gives me great spiral-y heatless bunwaves and curls in the length and ends, even when bunning with dry hair. Only, my fine-textured pin-straight hair being how it is, the bunwaves will fall down in a short period of time unless I bun with damp/recently dried hair or apply some product beforehand or after taking down the bun.


Picture gallery: More seashell buns!


SwordWomanRiona / rionashairblog.blogspot.com.es

If you copy-and-paste this post and/or alter it without any permission, credit or link, you're stealing my content. In that case, please stop. Please ask before using my work, or at least share it properly, giving credit to me and my blog.


