Sunday 17 December 2017

2017 hair - December random updos

 (Pics taken at the end of the day, so lots of flyaways xD)
  • Rope-braided bun with paranda with lightsaber sticks (originally another length-shortening bun)
 
SwordWomanRiona / rionashairblog.blogspot.com.es
If you copy-and-paste this post and/or alter it without any permission, credit or link, you're stealing my content. In that case, please stop. Please ask before using my work, or at least share it properly, giving credit to me and my blog.

Sunday 10 December 2017

Hairstyles - Top knot donut buns

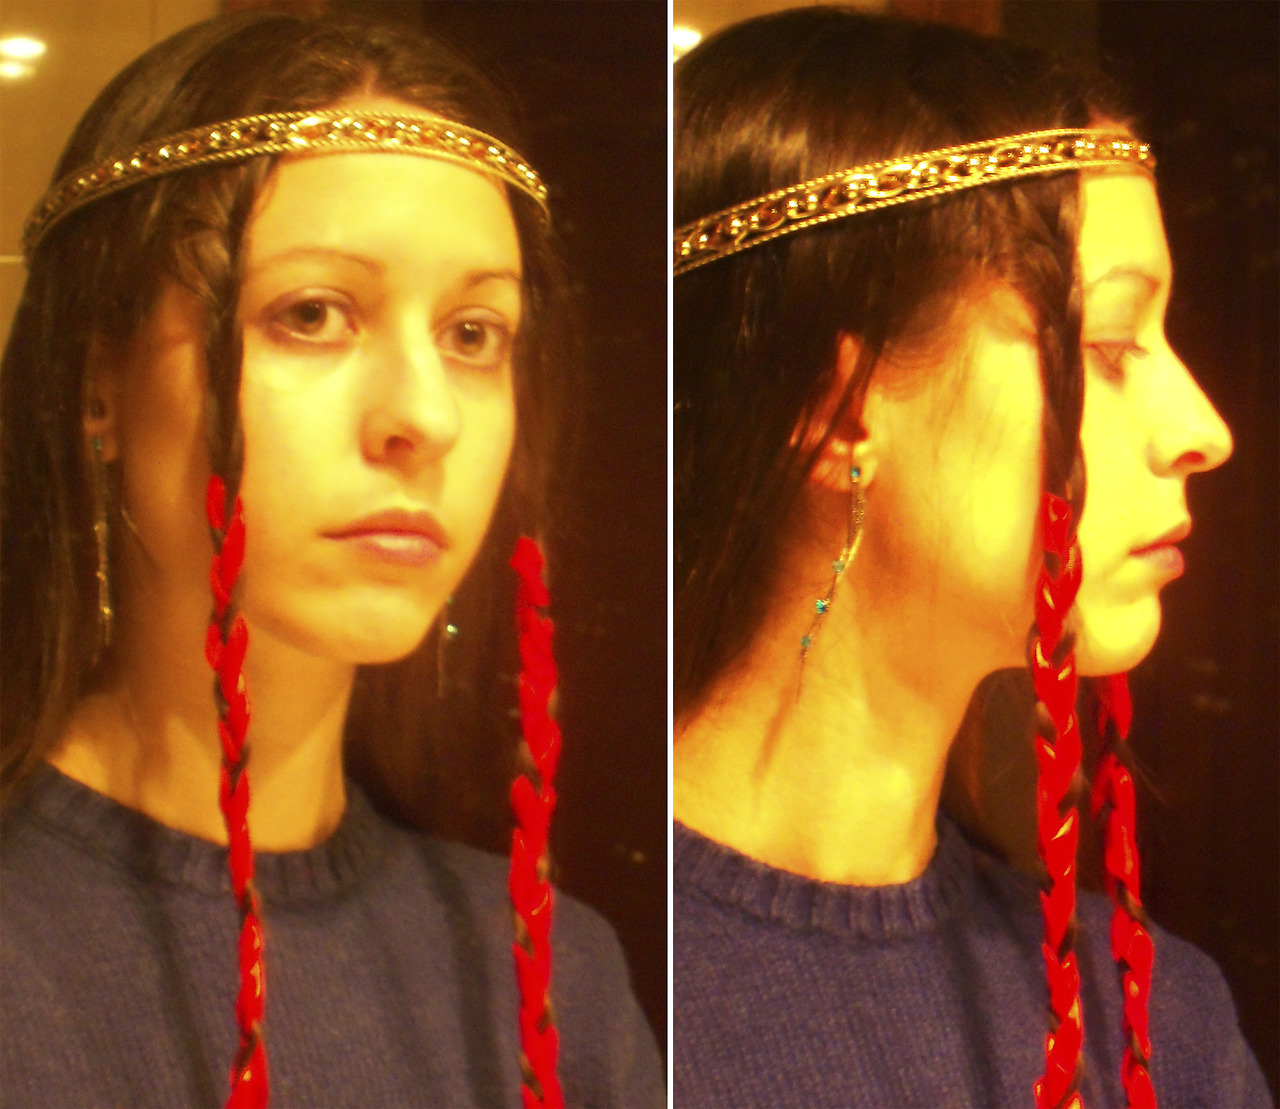
Lately I've been wearing quite a lot of high donut buns. I usually wear buns at medium height (except got the flipped bun, which is higher), but I made a really high top knot donut bun for a Missy (Doctor Who) cosplay back in September and then started experimenting with them, and I realized I really like how they look :) I've also tried cinnamon top knots and other buns without a donut, but so far I think my favourite is the donut top knot.

I wouldn't advise to wear top knots every day or very often, though, because the higher a bun is the more pressure to the scalp and that can cause headaches and can be harmful to the hair as well (mechanical damage and especially traction alopecia if the hair is drawn back too tightly and/or too often). So I tend to do my top knots as loose as possible - even if some of these look tight, in reality they're never so tight as to cause actual headaches or pain. And in order to prevent any major traction issues, I also wear a top knot only sporadically, or alternate them with braids or buns/ponytails at middle/low height.
  • For this style, I used:
-An elastic without metal for the initial ponytail. Another elastic (optional) to secure the har that'll cover the donut.
-Brush/comb to pull your hair up in a high ponytail and/or to smooth your hair. 
-Bobby pins (preferably open, closed can also work).

-Optional: A paranda/ribbon to braid into your hair (info about making parandas and braiding them into hair here), other decorative accessories (such as decorative pins, a small barrette, a comb, a fork, etc).

-Pull your hair up into a ponytail. I use a comb to help pulling my hair up, and a baby brush to smooth the hair into a more poliished look (this step can be omitted for a more casual/messy look). My long hair makes it harder to do a very high ponytail and keep the result smooth and non-lopsided, so I usually flip my hair upsdide down to let gravity help when it comes to pulling my hair in the ponytail xD

-Insert the foam donut through the ponytail so that it sits on top of the hair elastic at the base of the ponytail. 

-Take the ponytail and spread it over the donut, hiding it from view, and making sure the hair is evenly distributed. I usually make this step more secure by taking a hair elastic and sliding it over the hair-covered donut (this is optional).

-Gather the remaining hair and tuck it under/around the hair-covered donut, securing it with open/bobby pins if you need. Depending on how long your hair is, your ends will simply be tucked under the donut (and the elastic that I added on the former step would be seen), or you will have to wrap your length around it, hiding the optional elastic from view and adding to the volume.

-Optional: Decorating the bun with pins/flowers/barrettes/other hair decorative stuff.
 

Pros of this updo (in my opinion and experience):
-Quick and reasonably easy.
-Secure.
-Imo, pretty stylish.
-Both  a polished or more casual look.
-A lot of  decoration options.
-Voluminous updo.

-Cons of this updo (in my opinion and experience):
-Top knots can cause headaches and/or traction if worn very tight or very often.
-I find it more difficult to get donut buns messy/casual. I do like polished buns a lot, though.
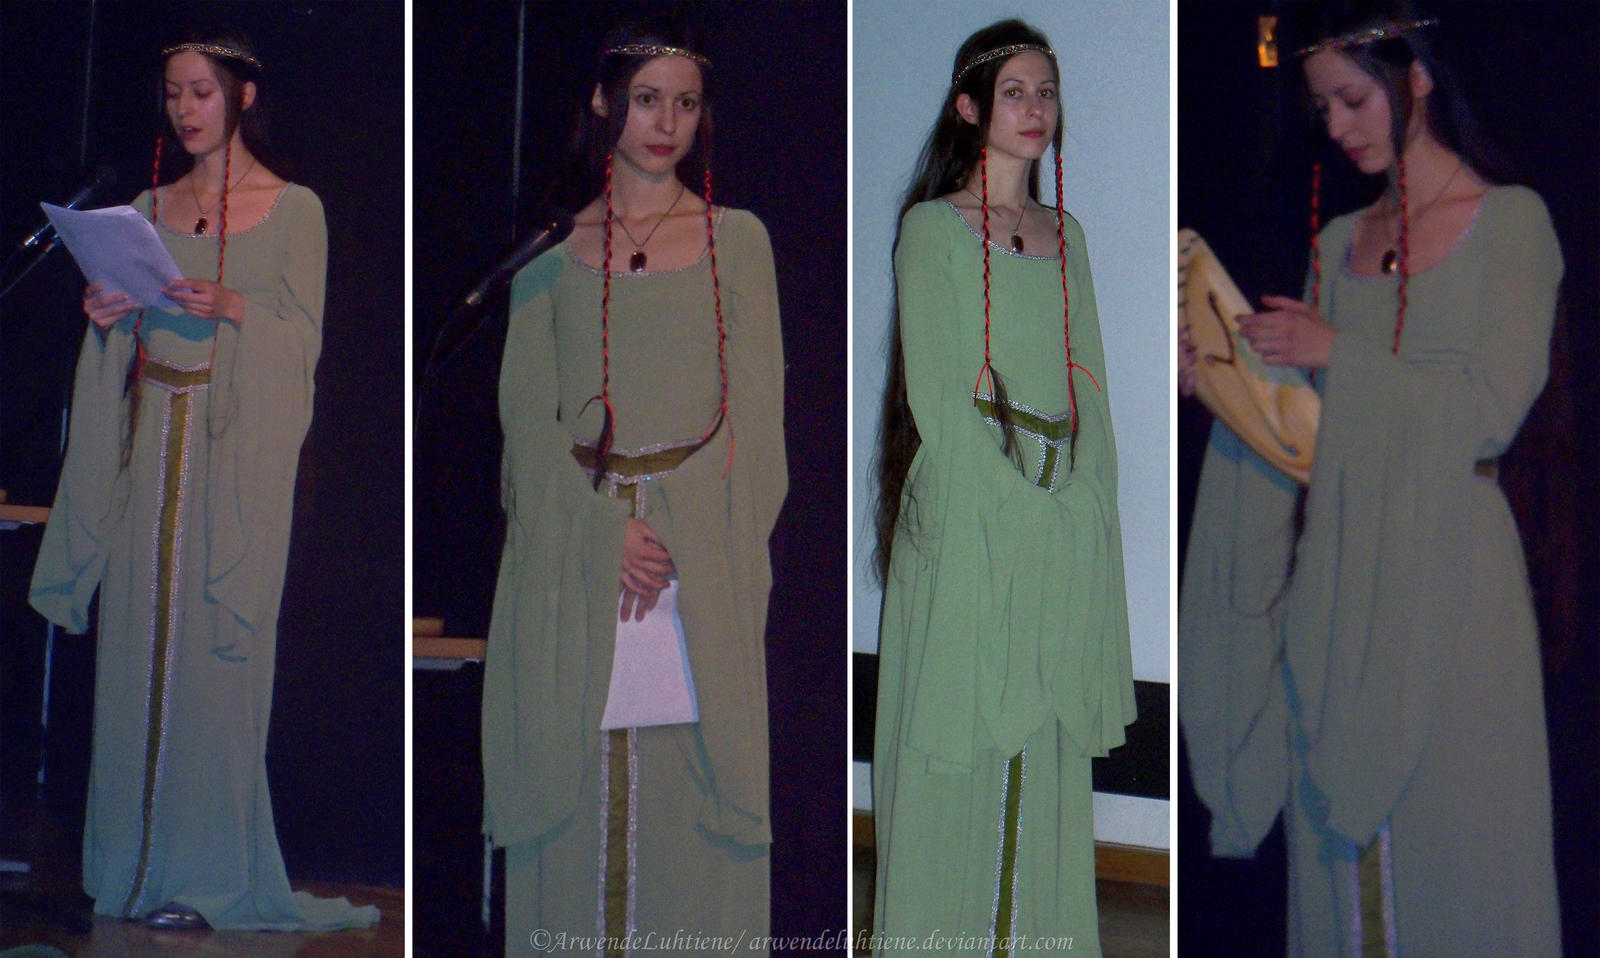
 
More pics:


-You can also braid the remaining length and pin it around the hair-covered donut for a braided donut top knot look. Add a paranda to the braid for a very voluminous look:

Or a ribbon:

I used a really high top knot with a larger foam donut for my Extremis Missy cosplay (Doctor Who S10). I only wore this style once, and I wouldn't recommend this more extreme version, it left my scalp feeling really sore after wearing it all day long:


SwordWomanRiona / rionashairblog.blogspot.com.es

If you copy-and-paste this post and/or alter it without any permission, credit or link, you're stealing my content. In that case, please stop. Please ask before using my work, or at least share it properly, giving credit to me and my blog.

Saturday 9 December 2017

Hairstyles - The Rose bun / Updos with rope braids

Today's hairstyle tutorial is the Rose bun, or Rope bun, a fairly quick and simple hairstyle involving rope braids. I've seen this style usually referenced as 'Rose bun' when worn as a half-up. I'm not sure if other kind of rope buns would be called 'Rose buns' when they don't look much like flowers/roses :S xD (my rope-braided buns with parandas, or the more elongated rope-braided Chinese buns definitely don't look like a rose xD). I usually just call these rope-braided buns.
  • For these styles, I used:
-An elastic without metal for the initial ponytail (if you're going to make an starting ponytail, you can also rope-braid without tying your hair in an initial ponytail).
-Small elastics for the ends (can be removed later on)
-Hairtoys with which to secure the style: Small clips, barrettes, open pins, larger bun pins, hairsticks, etc
-Optional: A paranda (info about making parandas and braiding them into hair here). 
  • Steps: 
-Half-up version:

This half-up rose-bun with the rest of the hair in a cinnamon bun:
1. Put part of your top hair into a half-up and secure it with an elastic (the half-up can be higher or lower, involving the whole top half part of your hair or smaller sections). You don't need to tie the hair with an elastic to form a half-up, though - I you don't like elastics, you can directly braid these sections of hair into a rope braid (step 2.). I use both methods, depending on the day.

2. Divide this section of hair into into two parts and rope-braid it. The tighter the rope braid is, the rose effect will be smaller and more intricate; a looser rope-braid will give a bigger, simpler 'rose'.

Rope-braiding tutorials:

The rope braid is, in my opinion, one of the simplest braids alongside the three-strand braid. When you add a paranda, the method is similar: First of all, instead of three sections you want the paranda to have two, given that this braid only has two sections. I do this by dividing the middle strand of the paranda equally between the left and right one. Then you add one section to each section of hair and twist the two combined hair+paranda strands to form a rope braid in the usual fashion. Be extra careful not to let the paranda slide down when you start twisting!

When you finish the braid, secure the end with a small elastic so that the coils don't unravel! You can use a transparent elastic, a small elastic in your hair colour, or just any colour (you can remove it just before securing the bun, or hide it).

3. Now you have a rope-braided half-up, to form the rose bun you start wrapping the braid in a coil - You can start coiling the end of the braid until you get to the elastic/braid base (I think this is the usual method, as seen in other tutorials), or alternatively start at the base and coil the rest over it.

4. Secure the bun with the hairtoys of your choice - If you don't want any hairtoys to show, I'd go with open bun pins, bobby pins and/or spin pins. Small clips at the sides don't hide the rose shape and provide the necessary hold, too. If you want additional decoration, go for a hairstick, a flexi-8, a barrette,...For a larger 'rose', pull genty at the coils to make it looser and larger.

-Variations: For these 'flower-shaped' braided half-ups, you can actually use other braid types, such as three-strand braids or fishtail braids. You can also make not just one, but two or more braids and combine them.

-Full bun versionRepeat the same steps above, but this time you pull all your hair into a ponytail (as high or low as you want). Like before, either secure it with an elastic or just hold it in position in order to braid it without an elastic base. Create a rope-braid as before, and coil it in order to form the rose shape.
  • Other rope-braided buns: These don't have the 'rose shape', so I just call them 'rope-braided buns'. The pics I have are all of one-coil Chinese braided buns:


SwordWomanRiona / rionashairblog.blogspot.com.es

If you copy-and-paste this post and/or alter it without any permission, credit or link, you're stealing my content. In that case, please stop. Please ask before using my work, or at least share it properly, giving credit to me and my blog.

Tuesday 5 December 2017

Hairstyles - Fishtail/Herringbone braid

This is a WIP-post for now (as some of you might already have noticed, I upload earlier 'thematic' posts of this blog ('French braids', 'parandas', etc) with new pics, so I hope to be able to upload this very brief post soon!

The fishtail or herringbone braid is a braid I really love, partly because it's been associated with Tolkien Elves (Arwen, Elrond, Legolas and Tauriel wear them in the LOTR and Hobbit movies, for example, among others). I really like the look of this braid, so I hope to stop procrastinating and find time to practice it in the near future.

I've only been dabbling in fishtail braids for now, mainly practicing on my braid tassels and such xD I somehow find them really daunting because of my straight, slippery hair, I always have the feeling it's not going to be easy to make a full one without it being unravelled in seconds :S But I guess we'll see how it goes, I'll probably end up using lots of aloe vera gel at least xD

Three pics from a few years ago:

Three-strand braid into a fishtail:


And the one time I actually tried to do a full fishtail, as a half-up (and pretty slapdash, but yeah, practise xD):

                                          SwordWomanRiona / rionashairblog.blogspot.com.es

If you copy-and-paste this post and/or alter it without any permission, credit or link, you're stealing my content. In that case, please stop. Please ask before using my work, or at least share it properly, giving credit to me and my blog.

Friday 20 October 2017

Hairstyles - Three strand with side braids and paranda plus updo variation

I started wearing this style quite a lot last Summer - A three-strand braid with a paranda (tutorial in the link) with the addition of simple three-strand side-braids (pinned at the sides before tying them at the back in order to keep them more in place and with less bumps): 

I also like to wear a flexi-8 when wearing three strand-braids, both because of decoration and practicality - my straight, fine-textured hair is really slippery and even with the paranda the braid will become undone during the day, so the flexi-8 helps keeping the braid more in place. Also featuring a decorative star-pin in the half-updo section:

 Bunned variation: A simple braided low bun in which I twist the braid at the nape of the neck and secure it with a couple of metal bun pins (the half-up section also helps keeping the bun more anchored):


I was then working on a Tolkien study on the role of Númenórean women for a convention (which was last week), and this style somehow gave me strong Erendis vibes, so here are is casual closet cosplay Erendis with this style, with the star in her brow (which is the Evenstar, but pretty close to the description of the 'diamond in a fillet of silver' that Erendis Elestirnë 'Lady of the Star-brow' wore as a circlet). Actual cosplay pics - of Erendis and a Noldorin Elf - featuring this style coming soon :D!:

SwordWomanRiona / rionashairblog.blogspot.com.es


If you copy-and-paste this post and/or alter it without any permission, credit or link, you're stealing my content. In that case, please stop. Please ask before using my work, or at least share it properly, giving credit to me and my blog.

Monday 16 October 2017

2012 hair - Irish Medieval Queen-inspired style

Today's post is another historical-inspired hairstyle, this time of an Irish Medieval queen/noblewoman, inspired by this depiction of Isolde (the one in the middle): 
Source

I wore this style back in 2012 in order to impersonate the Queen of Tír na nÓg for a show that our Irish group prepared  to celebrate Saint Patrick’s Day.

-What I did:  This is a pretty quick style - The hair is loose except for two front pieces, one on each side, beribboned in a criss-cros pattern and worn hanging down the front (I just folded the ribbon in two at the point where I wanted the pattern to start and started criss-criossing it. A knot at the end keeps the ribbon pretty fixed and secure). The style is completed with a circlet.


And an early test with three-strand braids:


SwordWomanRiona / rionashairblog.blogspot.com.es

If you copy-and-paste this post and/or alter it without any permission, credit or link, you're stealing my content. In that case, please stop. Please ask before using my work, or at least share it properly, giving credit to me and my blog.

Thursday 14 September 2017

Hairstyle tutorial - Half-flipped bun

Back to tutorial videos with my variation of the Flipped-bun - Instead of flipping all hair before inserting the fork or stick, here I flipped half of the hair and wrapped the rest around the stick:


Pic gallery:


With accent side braids:


SwordWomanRiona / rionashairblog.blogspot.com.es

If you copy-and-paste this post and/or alter it without any permission, credit or link, you're stealing my content. In that case, please stop. Please ask before using my work, or at least share it properly, giving credit to me and my blog.